WebSync Manual
Basic Requirement
The basic requirement for a synchronisation is a → http(s) link in which the execution of a → PHP script (list_dir.php) is allowed.
This → PHP file reads data from the web folder and makes the result available to the locally installed tool → WebSync.
1. Log in to your Cloud Software account.
2. Open the menu at → Download in the home screen.
3. Click the menu item → WebSync.
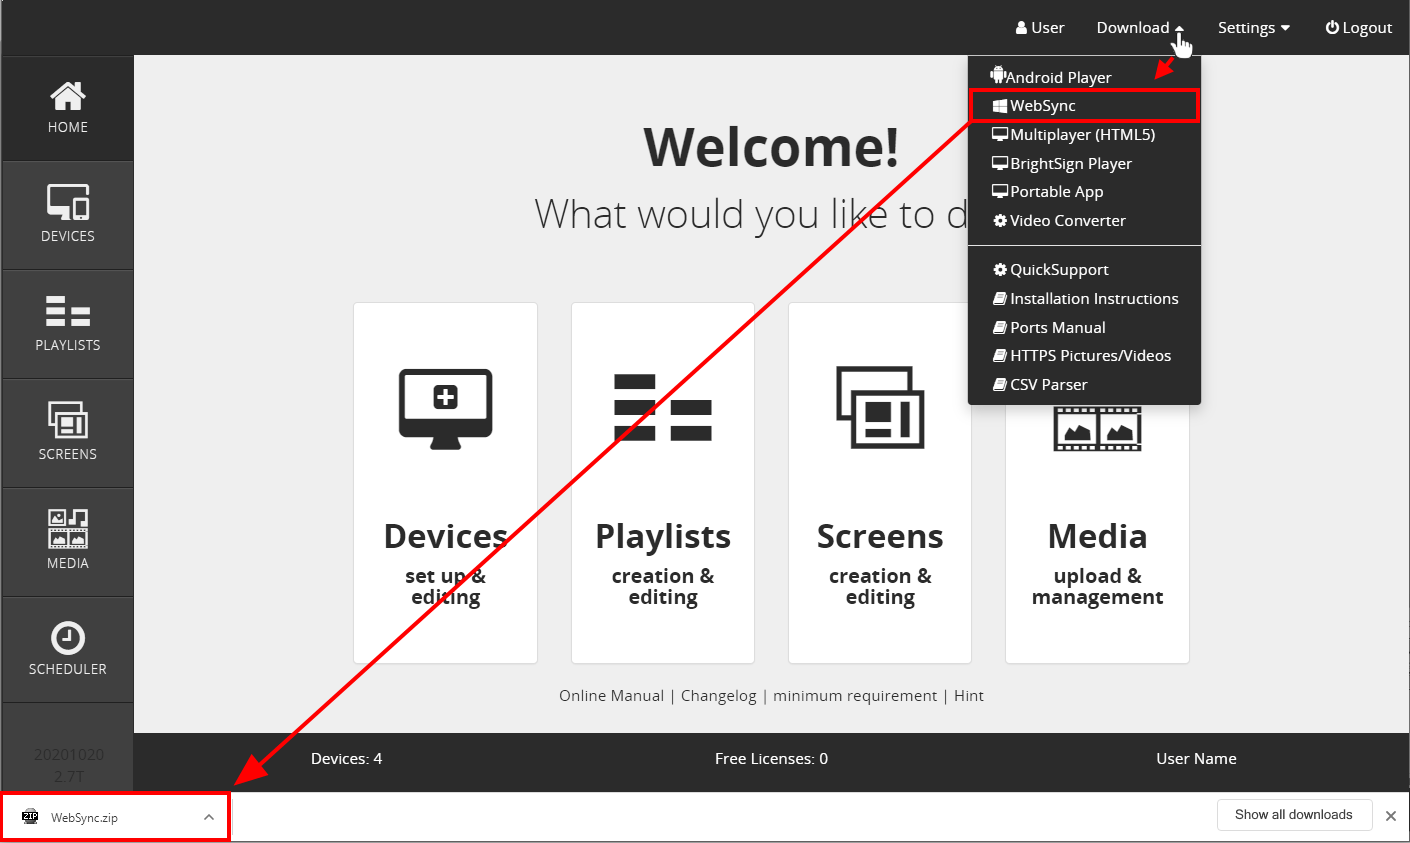
Zip File
By downloading you will receive the file → WebSync.zip.

Set Up WebSync
I. Extract
II. Copy
III. Start
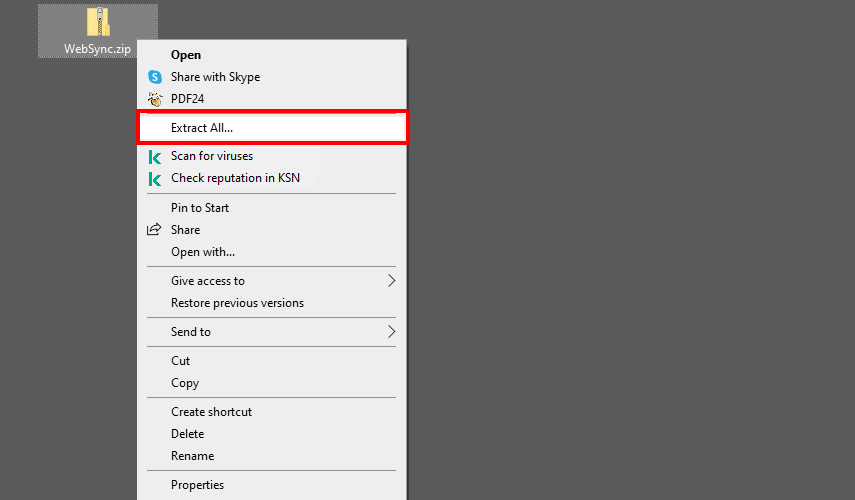
I. Extract
1. Rightclick the file.
2. Click on → Extract All... in the opened window.
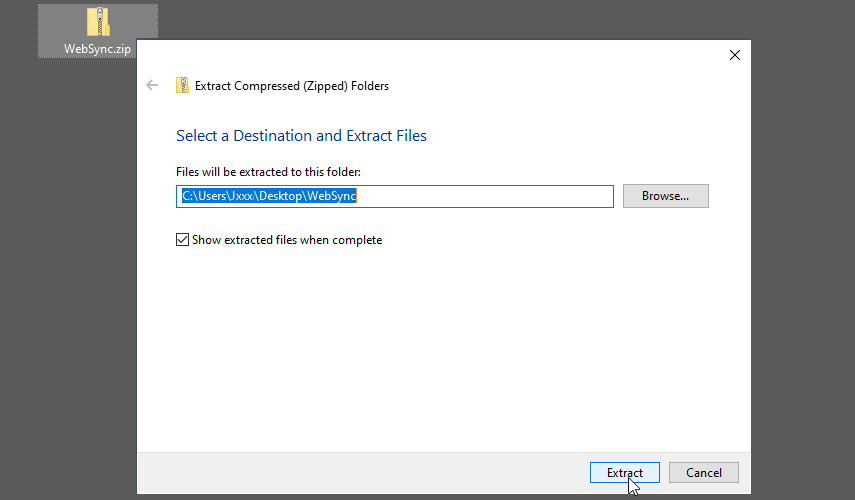
3. Select a destination folder and extract the files.
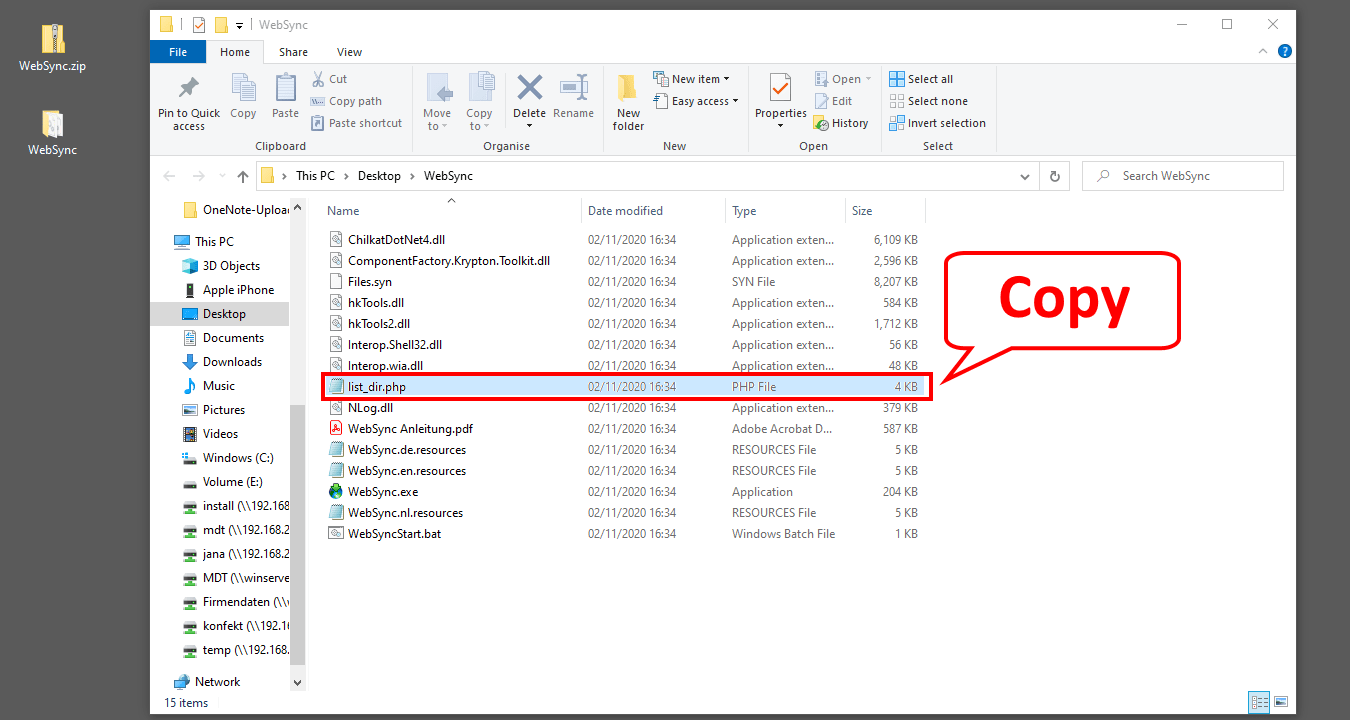
II. Copy
- Copy the file → list_dir.php in the destination folder.
- Open the upload directory on the server of your choice.
- Paste the copied file → list_dir.php from the destination folder
into the upload directory on the server.
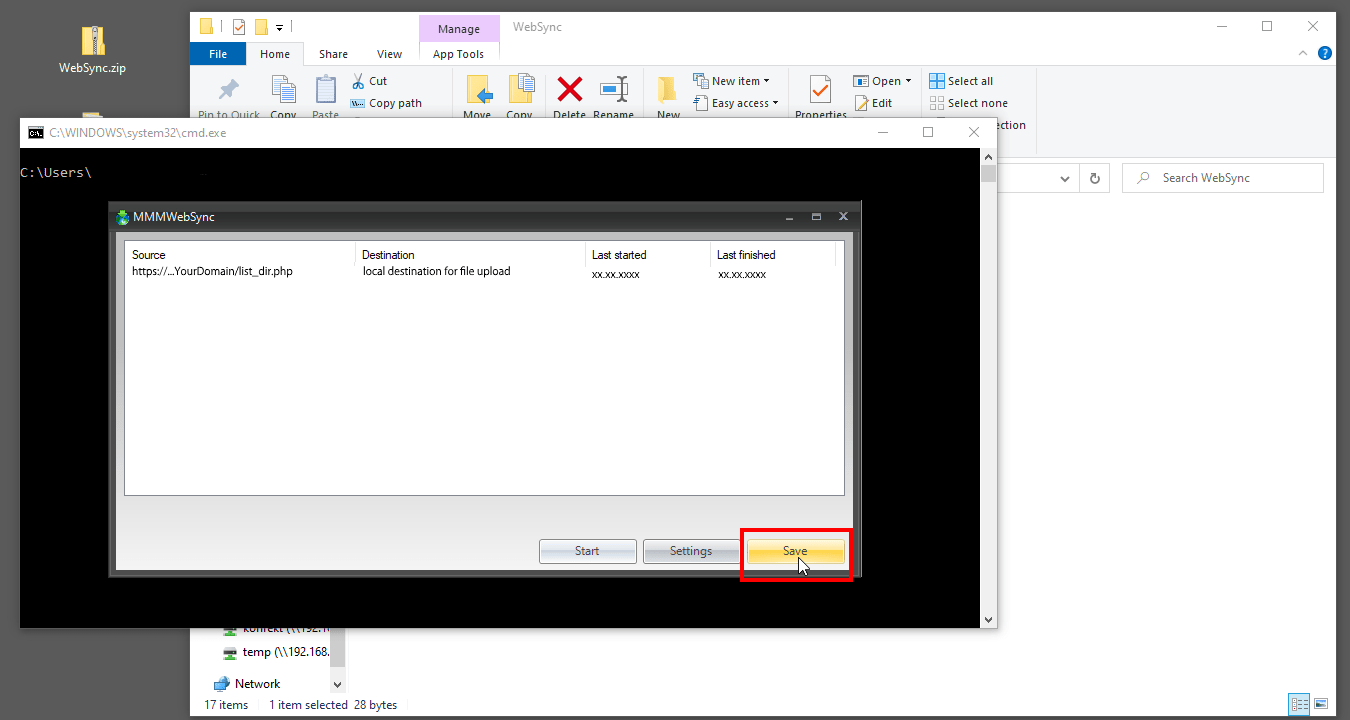
III. Start
Start the file → WebSyncStart.bat in the destination folder by double clicking.
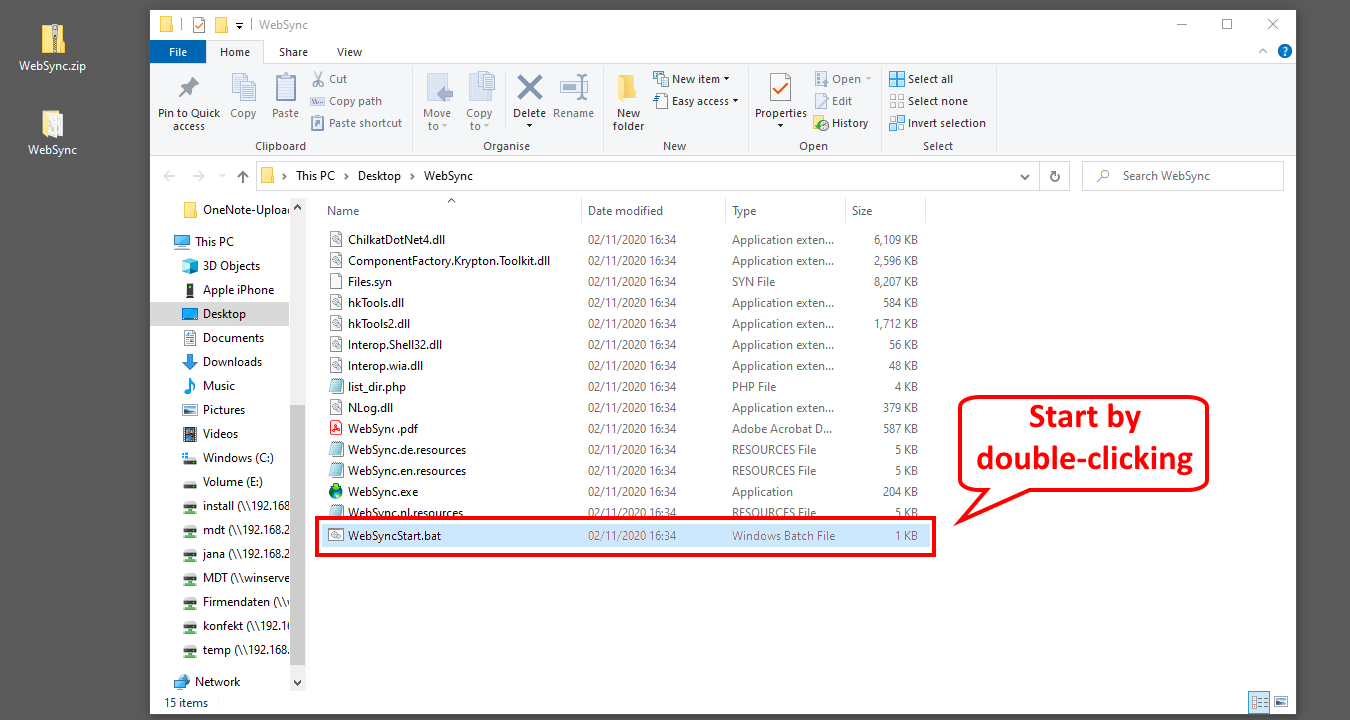
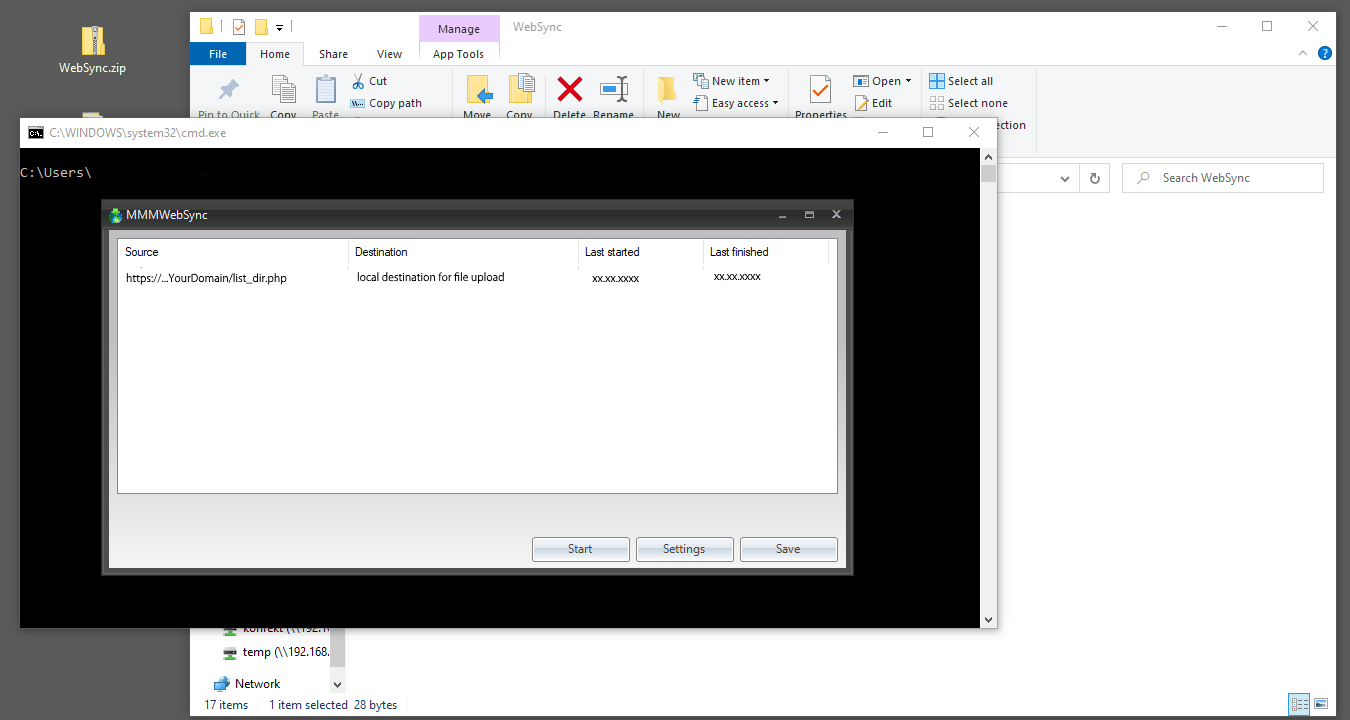
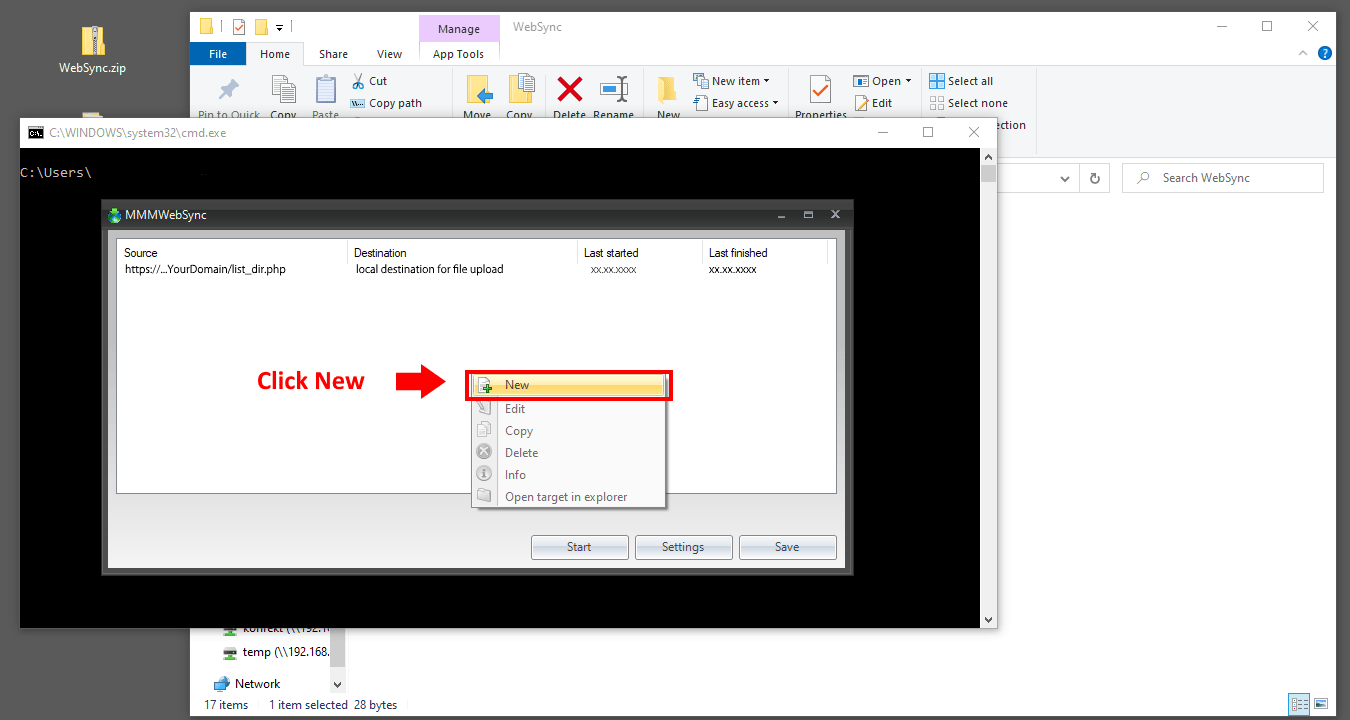
...this opens the WebSync window...
1. Right click in the window area to open the context menu.
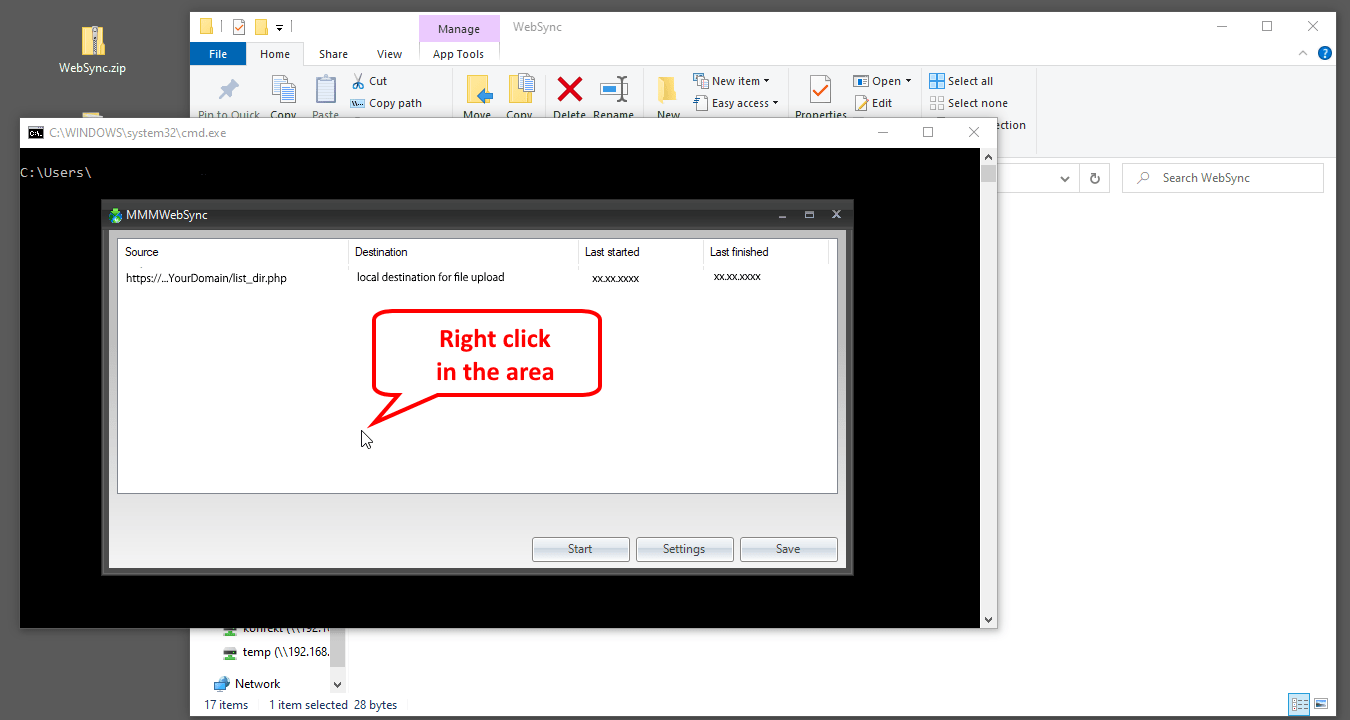
2. Click → New in the opened window.
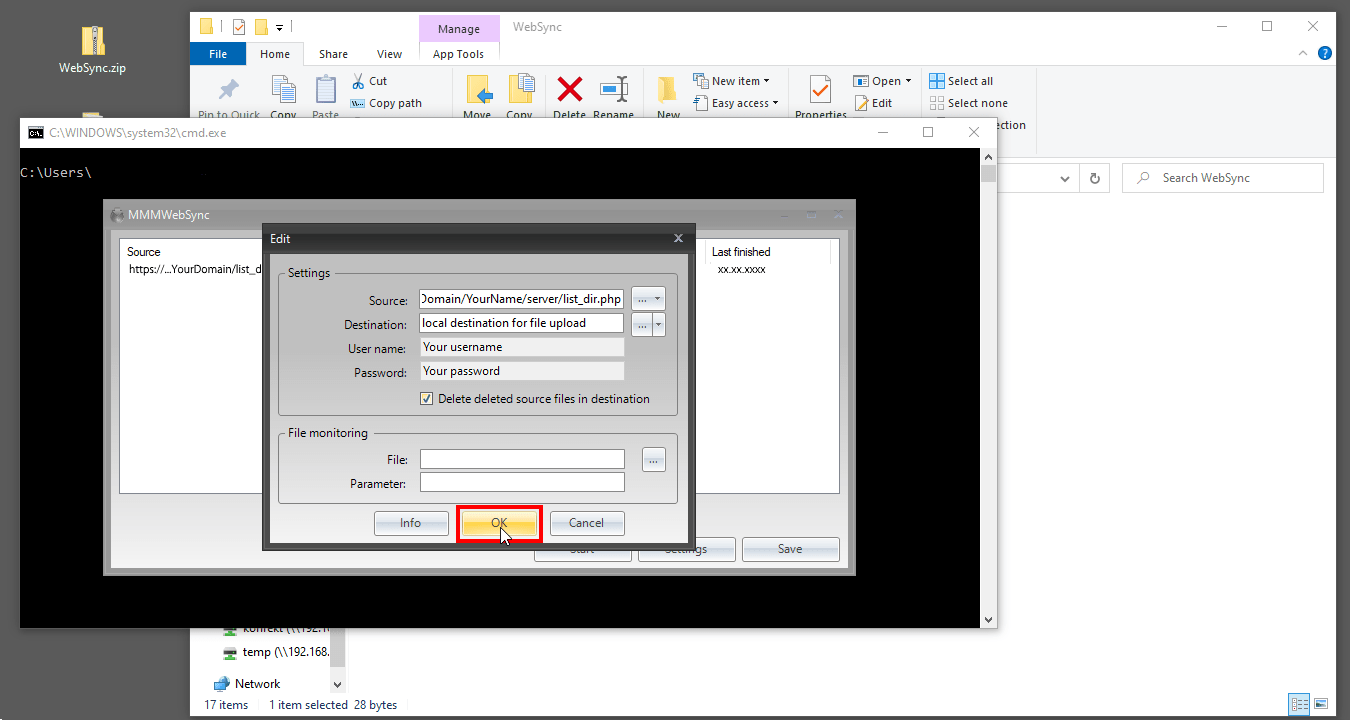
Edit Entry
- Enter the file path of the list_dir.php at → Source.
- Enter the local destination you specified at → Destination.
- Enter your username and your password.
- Activate the function → Delete deleted source files at destination.
- Click → OK.
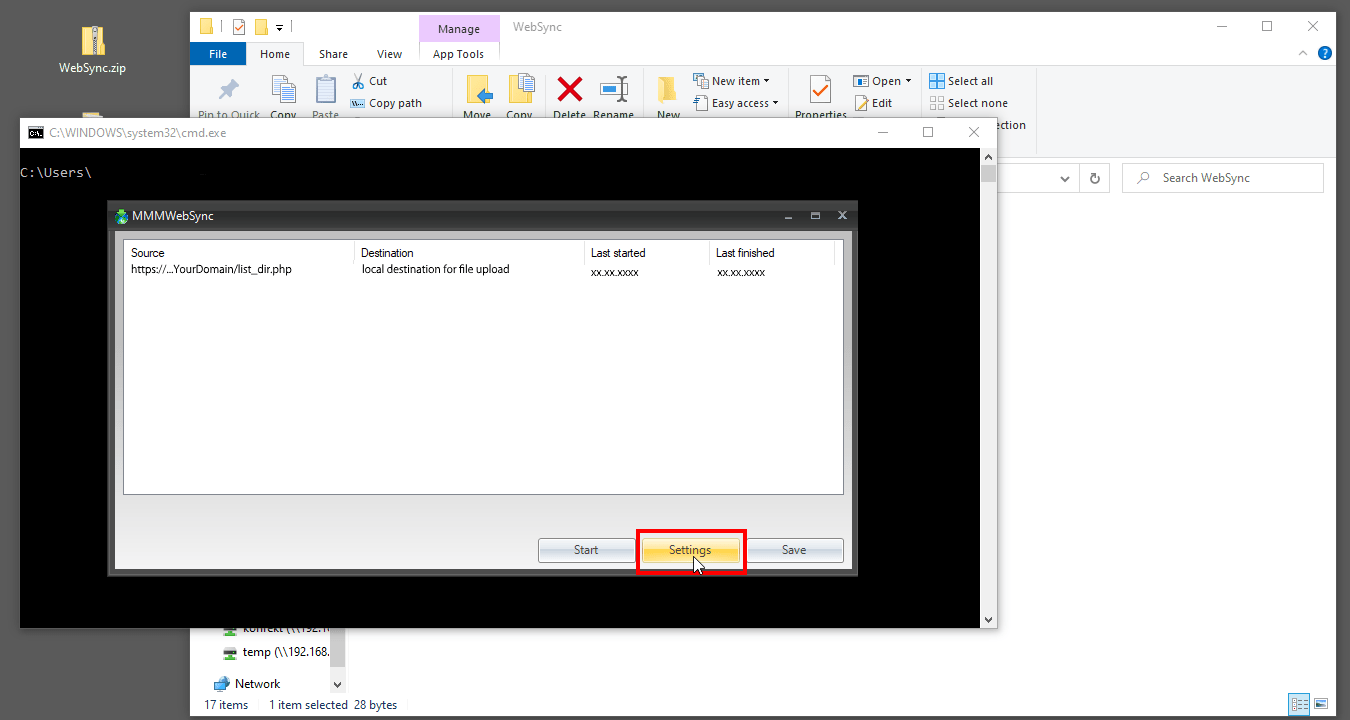
Settings
Optionally you can configure how WebSync should be started.
- Click → Settings in the WebSync window.
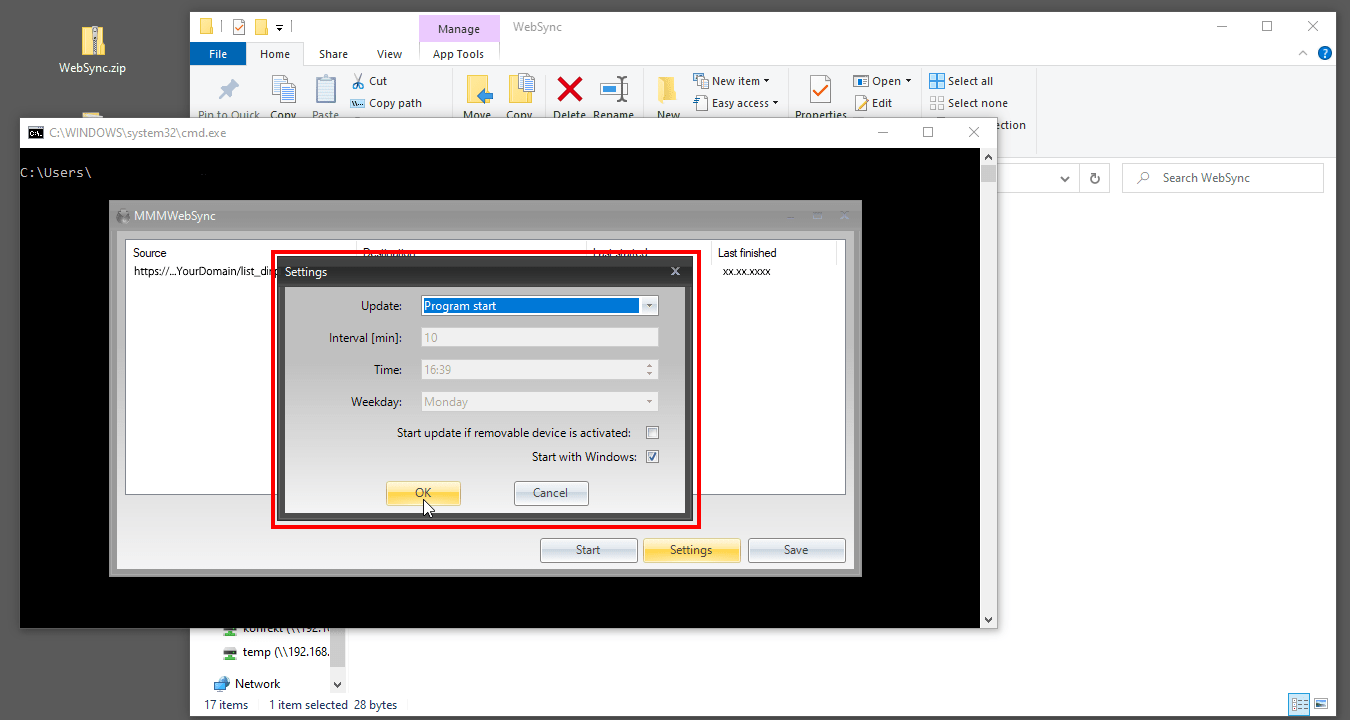
2. Open the menu under → Update and select one of the listed options.
3. Then make the further desired entries accordingly.
4. When you are finished your entries, click → OK.

Examples for Settings How to Start WebSync
Example 1:
One-time synchronization at the computer → Windows Start.
- Select the option → Program start
- Activate the function → Start with Windows.
- Click → OK.
For an automatic start and a regular synchronization of the directories → in the example every 30 minutes.
- Select the option → Intervall.
- Enter the interval in minutes in the input field below.
- Activate the function → Start with Windows.
- Click → OK.

- Select the option → Weekly.
- Enter a time at → Time.
- Specify a day at → Weekday.
- Click → OK.

- Select the option → Daily.
- Enter a time at → Time.
- Click → OK.

When you have finished your entries in the WebSync window, click on → Save.